Going Custom Part 6: Choosing a Color
This is part 6 of the Going Custom Series
Choosing a Color
Ok, the design has been finalized. He's ready to build it. One of the great things about Jim is his super leadtime. 5-6 weeks. As compared to 10-12 or upwards of 4months to a year for some other builders.
The bad thing about Jim is his short lead time. It gives me less time to choose a color.
It is funny how many arguements I've gotten into with my wife over color choices for bicycles over the years. If you haven't figured it out yet, I'm a little out of the norm on some things. I'd suggest a color to her she typically wouldn't like it.
Oftentimes you go to the person you are closest to in the world, and suggest something looking for their validation. And when you don't get it you get mad. I haven't asked her yet about color for this frame. Maybe she'll post her comments here with her choice?
Paint and color in some ways make the frame. While the fundamental design and construction define the bicycle's riding characteristics, it is the color/paint that are the face of the bike. Obviously, the most important thing is the feel, ride, handling, fit of the bike. But I'm not fool enough to say that color doesn't matter.
A high end paint job from Bayliss or Joe Bell and even Spectrum
adds on significantly to the price of a frame. Hell, even painting a fork adds on. Some bikes such a lugged roadies really do need a top end paint job. The quality of construction is magnified under a good paint job especially one with masked lugs.
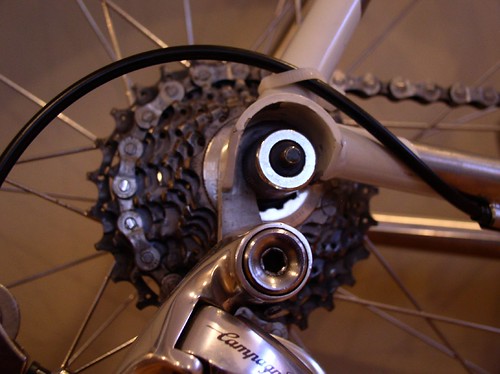
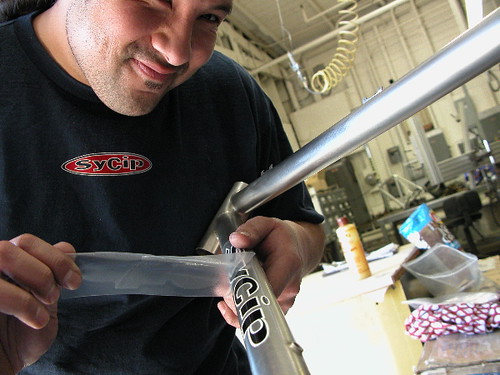
Jim is known primarily as a Ti builder. Most Ti bikes are unpainted and the welds are in full view for scrutinty. It's a parlor game on the forums to show off your Ti welds from Moots, Dean, etc. Jim's welds are as good as anyones consider that he taught a lot of the Moost welders. I jokingly said "I think choosing a color is harder than choosing a builder." He replied back :"Since I'm building the bike, I'll just take that as a compliment. Otherwise, I'd have to question your priorities..."
You would be surprised how many people are more concerned with matching the color of their bartape more than proper fit, geometry and design. Sometimes I have to wonder if I am not one of those people.
This bike's character is more of a work horse mountain biker's road bike. It doesn't need a super high end paint job, HOWEVER, it does need to look good.
If you can't be good, you should at least strive to look good. Decals have to go with the color. Bar tape...stem /seatpost...etc..
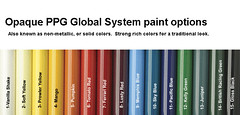
Jim gets his frames powder coated at Sycip. For more elaborate paint jobs he'll send it to Spectrum with an upcharge. I need to verify what if any options such as sparkle undercoat, etc are options.
I'd like to get panels
But that adds on a fair amount so am not going to pursue that. Painting the fork adds on some so going with a color that will go with a carbon fork will save that cost.
I like to be different. Stand out amongst the crowd. But I don't want to be laughed-at/heckeld at sort of stand out.
Jim's Decal Options are:
White letters, Red circles

White letters, Blue circles
White letters, Gold circles
White letters, Clear circles
Black letters, Clear circles
Here's some of the colors I'm thinking of:
I'd need to go powdercoat, some examples below are probably wet paint. They're just ideas.
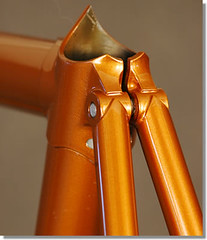
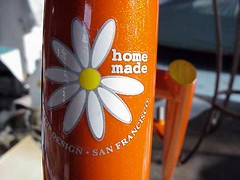
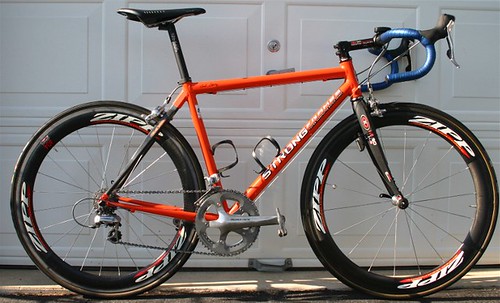
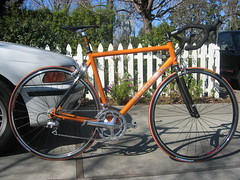
Orange
-I always love orange.
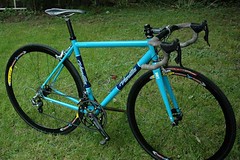
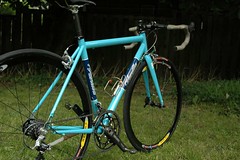
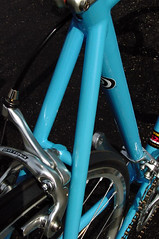
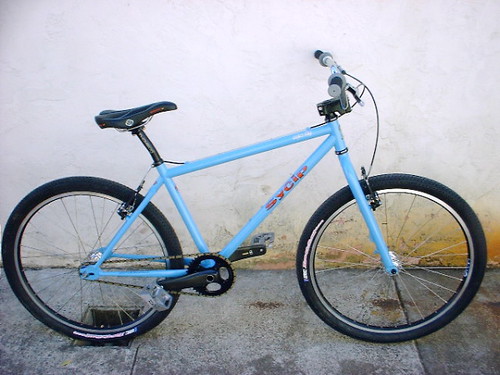
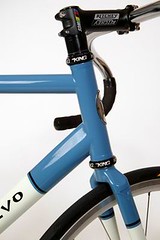
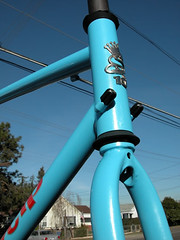
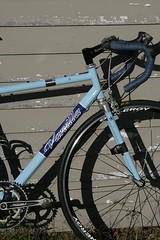
Sky Blue
I've noticed several custom builders with Sky blue bikes. It's a color that you don't see much on production bikes. So it fits that stand out in the crowd motif. There are several variations on the theme below. Red decals look nice as does white.
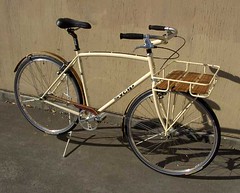
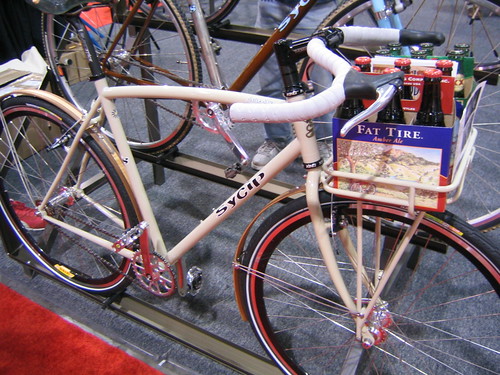
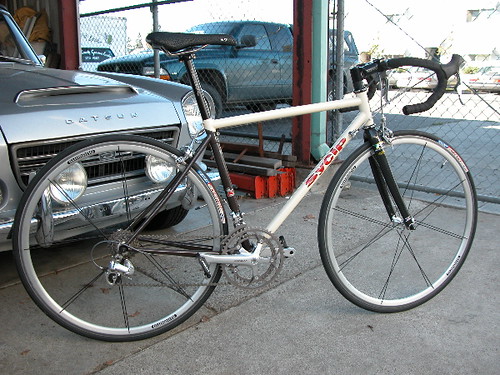
Creme
This one sort of caught my eye.
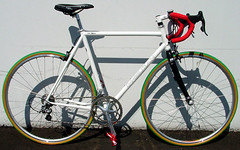
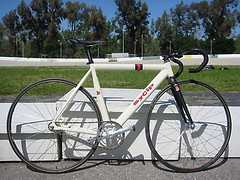
Simple White
I had a white mountain bike. It worked ok, but white on a road bike works better
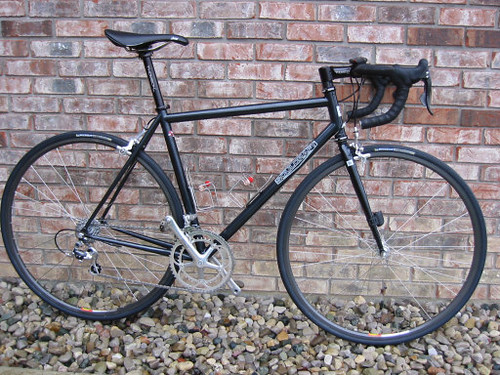
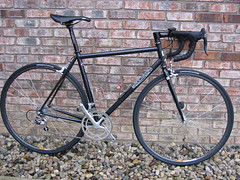
Black
Black works with any outfit

Charcoal Black
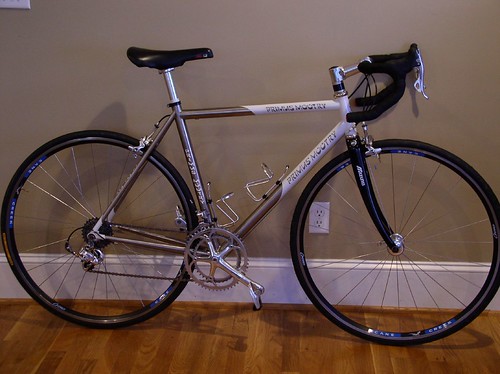
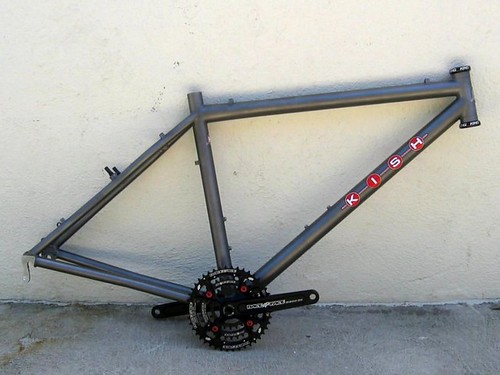
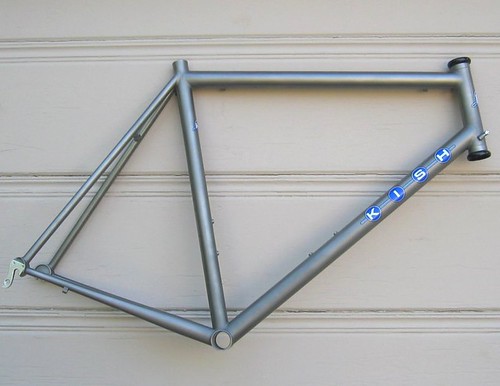
Silver
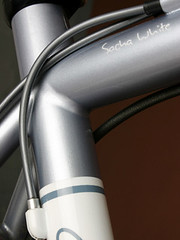
There are other colors
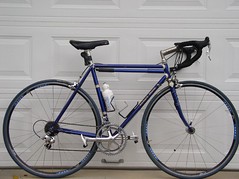
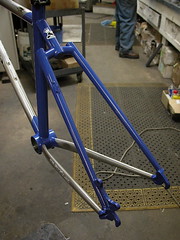
Like a deep midnight blue (metallic),
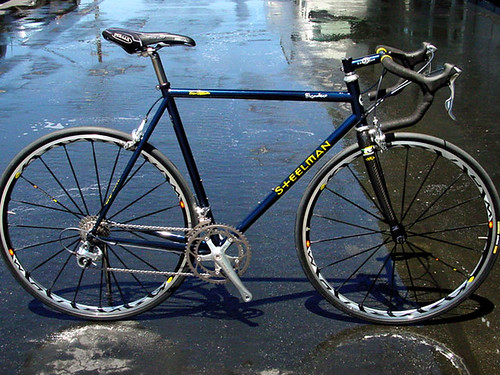
Basic Dark Blue
Right now I'm kinda leaning towards the Black. Maybe the white with red decals.
It's one of those things where you want to get what you want, but at the same time you want someone else to tell you what looks good. See what I said about me being one of those people that prioritize how it looks over everything else!
*EDIT
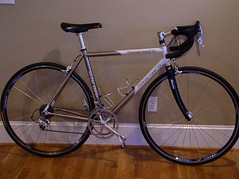
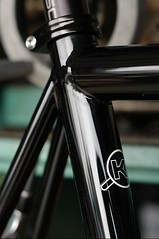
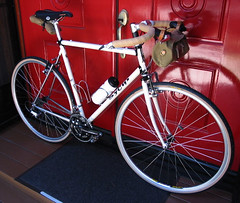
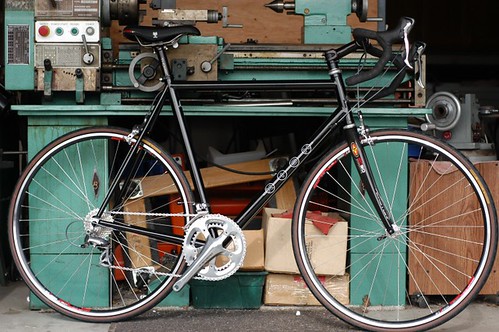
Color Chosen
Gloss Black
Decal: White outline/black letters
Similar to this
posted by Ashwin Amanna @ 10:27 AM
3 comments
![]()