This post is a combo review of Nitro Team TLS boots 2009 and some experiences in DIY boot fitting
Age:42
Male
Ride Style: just mountain, mid atlantic small resorts (WV)
Board: K2 151 Believer flat base
Bindings: Rome Targa
Street shoe size 8 (7.5 in the Nitros)
2/6/11 ***note that I am rethinking the relationship between heel hold and ankle flexion and that some of the boot fitting things I tried probably weren't good because the padding pushed the top of my ankle into the harness more. Of course I cynched the harness down as tight as I could and the tops of my ankles were fried.
Summary:
Pros:
out of the box decent heel hold
high end construction
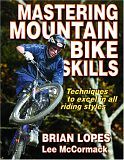
inner ankle harness
stays tight for the most part (need to re tightnen after few runs, inner harness came loose but got new lace locks from distributor)
dual zone lacing
cons:
takes forever to put on and get set up
hard to get off
original lace locks for inner harness would not stay tight
confusing lacing (at first) SLOW, lots of extra lace to deal with
laces don't stow well in the little holders
Vitals:
42 years old, M, size 8 street shoe, (right foot bigger), intermediate boarder in WV resorts, just riding the runs, no park/pipe.
-Very flat feet and very narrow ankle and bad circulation (Perniosis) You just can't get much worse than my feet.
With a very narrow ankle from very small bone structure, finding snowboard boots is a real struggle. My bone frame is extremely small, my 12 year old son's wrist is bigger than mine, so you can imagine how narrow my ankle is.
Snowboarding is utter hell on the feet. Sure in ski boots you cram your foot into some icebox an entire size smaller than your foot. But in boarding you have to flex your feet alot, especially on easy runs and flat catwalks. The ankles and your heel hold can make or break any toe-side turn. So having tight heel hold is essential. It often turns out to be a tradeoff between how tight you can cinch your boots down to hold your heel and not cut off circulation to you foot. The circulation issue is especially aggravating because it tends to be cold, duh when snowboarding. The trade off I think is between holding the heel snug while still enabling flexion at the ankle so you can bend at the ankle and knees when driving the board forward and absorbing terrain.
I've had some old northwaves and some Salomons Synapse. The Sals are supposed to be good for narrow heels, but the inner liner packed out very fast and the lacing on the inner liner would not stay tight more than one run.
I don't live in an area with access to lots of boots to try on. From a lot of reading and forums and chatting with sales people online the list of boots that seem on the better side for narrow ankles is:
Northwave Decade SL
Ride FUL-Intuition Liner
Thirty Two TM2
Nitro Team TLS
Salomon Malamutes
Salomon F22
I got the Nitro Teams last year from Backcountry. So far they have been pretty good for the heel hold but have their issues like I am thinking any boot does.

The Team TLS is a pretty high quality boot. Construction is solid, it's decently warm I guess. I am always cold and use toe warmers almost every time so am not a good judge of that aspect. It seems to be a trait of high end boots to incorporate an ankle harness with the boot.
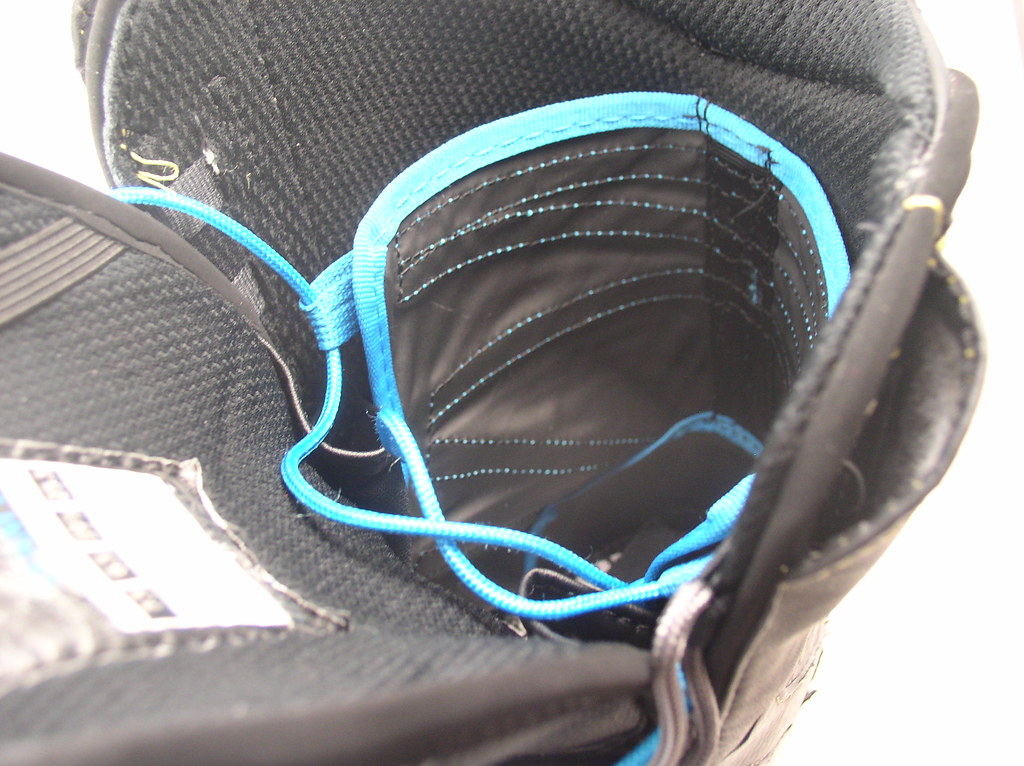
I seem to like this method over having the liner itself have it's own laces but I only have the Salomon's to compare to. The liner is ok I guess.
I don't think has any heat molding characteristics like the Thirty two or Ride FUL. I heard the Thirty Twos have a lower end
Intuition liner. Which I also heard is a good thing to go for if you have narrow ankles. I think the Ride FUL has a higher end intuition. Intuitions require a good way of heating it. Store will have an approved oven. There is also a good
you tube video where the guy heats up
rice stuffed in a sock.
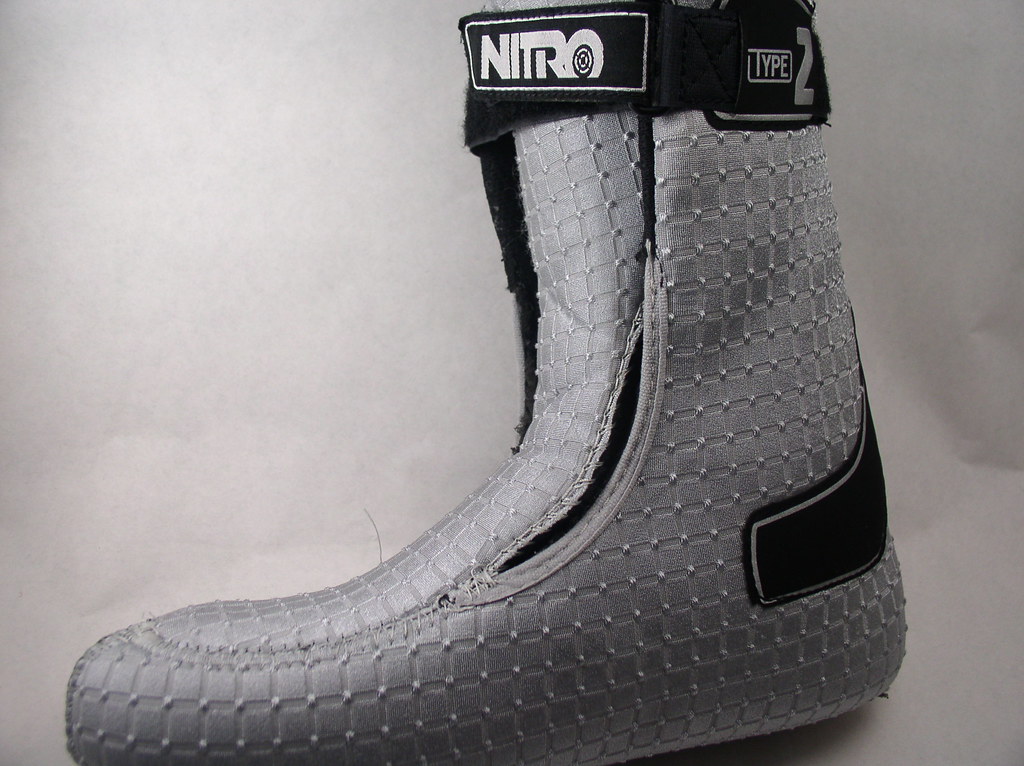
The sock liner is an utter piece of crap like most sock liners that come in boots and cycling shoes. They ought to just leave it out an put a piece of cardboard in or just send you a check for to go buy some super feets. Here is a picture of it next to superfeet Blues, more on this later.
The inner harness laces uses a sliding lace lock
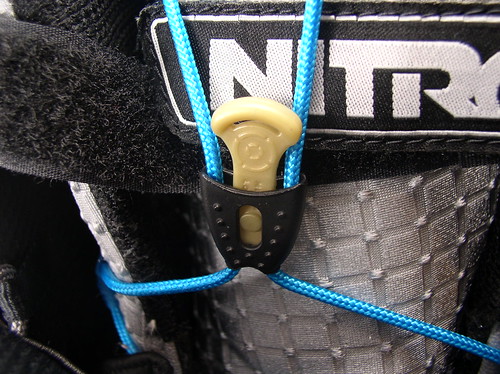
The first one that came would not stay tight. The distributor was really nice and sent me some newer ones:
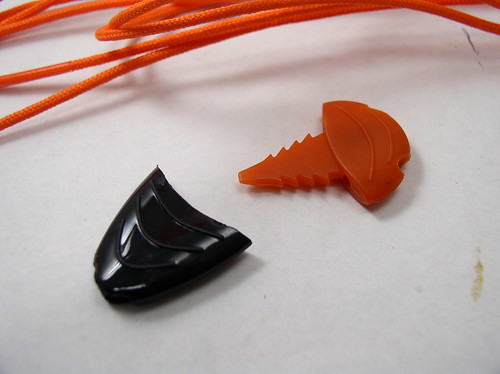
The do seem to work better.
The one problem with this inner harness is that I have to cinch it down tight to get really good heel hold, But it aggravates a nerve on the top of my foot

or it cuts of circulation but it can get really bad after a few hours in the cold.
The outer lacing system is called TLS. every manufacturer of boots has their own special lacing system. Some prefer to stay with traditional laces like a lot of Thirty Two boots. The trick with traditional laces is to learn how hockey players laces there boots. They do two things. They use a
lace puller to get the laces tighter than you can with bare hands, and
they twist the laces to keep it from coming loose.
The TLS use a two lace system that allows you to tighten the lower laces different than the upper. For me it wasn't an issue because it's always as tight as I can. But sometimes I do keep the lower ones a little looser. The lower laces are black and the upper laces are grey. I found that I have to pull each row of laces with my fingers to get them snug before I pull on the laces with the handles. I typically get the top ones just a little tight, then pull the lower ones then back to the uppers than the lowers again.
Here they are in the loose mode:
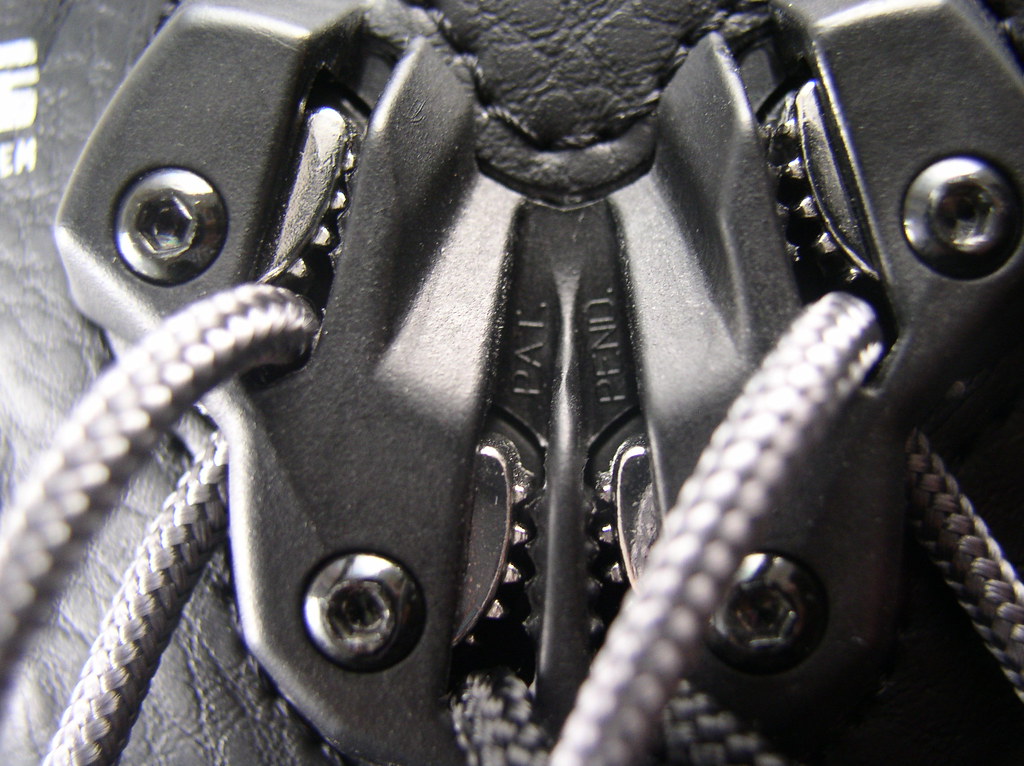
The lack locks are spring loaded and once you pull up they lock into place keeping the lace from coming loose.

One of the problems with these types of speed lace systems is that there is a lot of laces and they have to go somewhere. In the you tube videos they wrap the excess around the handle and then stuff the handle in these little side pockets. No way does that work given how tight the pockets are. I can barely get the handle in alone.
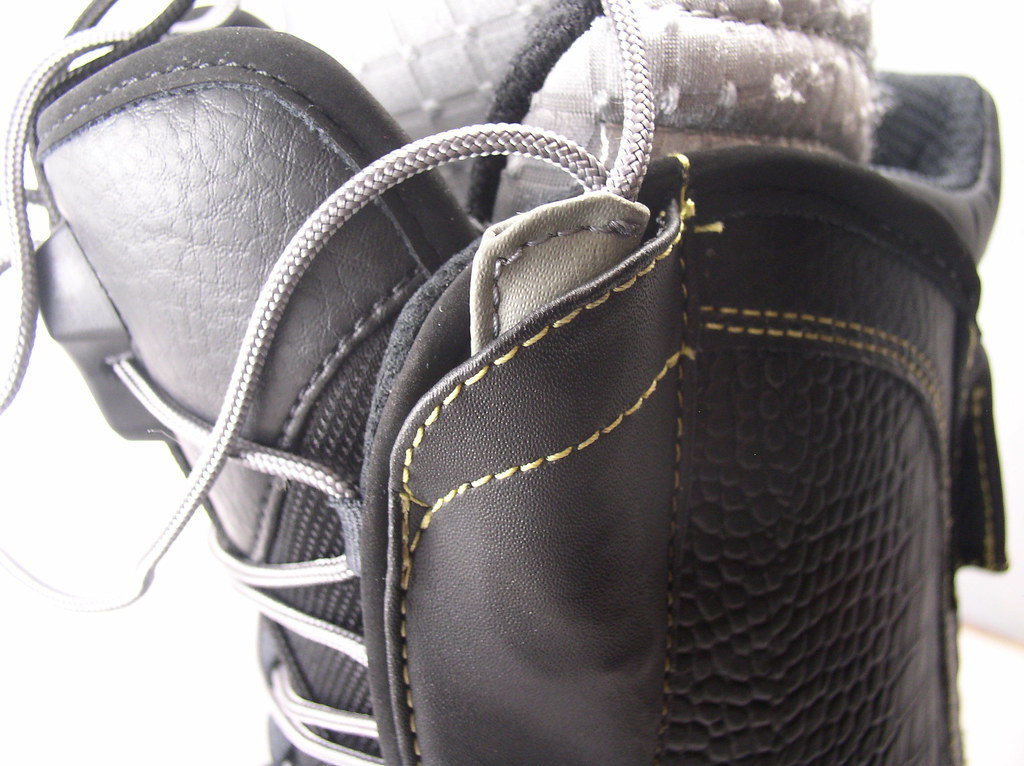
I just wrap the lace around my calf and stuff the handle in. Same with the inner liner lock.
Problems I've had have been the inner lace coming loose, and not being able to get heel hold totally under control, as well as just plain my foot hurts like hell after a few hours in the cold and standing up. I've tried to remedy issues in a few ways
1) Get some decent insoles.
Getting some custom or aftermarket insoles is an absolute must if you have flat feet and pronate badly like I do. I suffered in cycling for years before I finally broke down and got custom insoles.
The inner sock liner must go almost always. There are several ways to go for the insoles. Drug stores, etc, have Spenco inserts.
Superfeet are a great choice. Super feet green or blues. They also make a red that has foil on the inside which is supposed to be warmer. I've used Super Feet blues for a while, but after a bad day finally got my cycling orthotics to sort of work. The cycling orthotics are 3/4 length then have a neoprene top which bunches up at the end of the snowboard boot. But I sort of have it working.
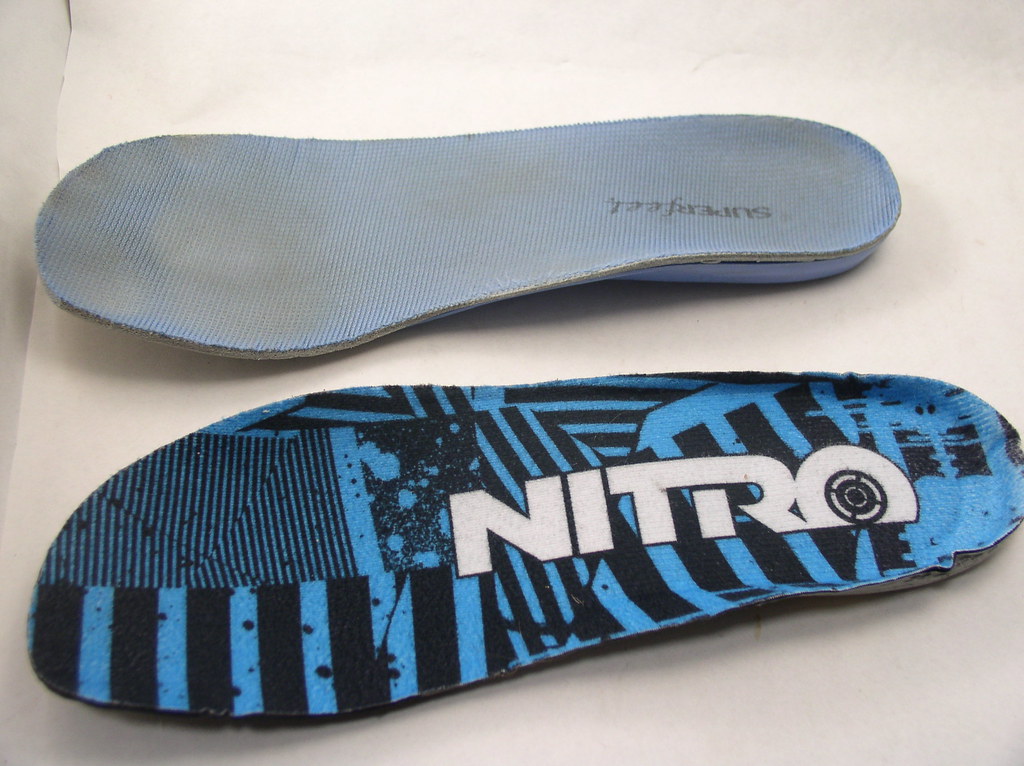
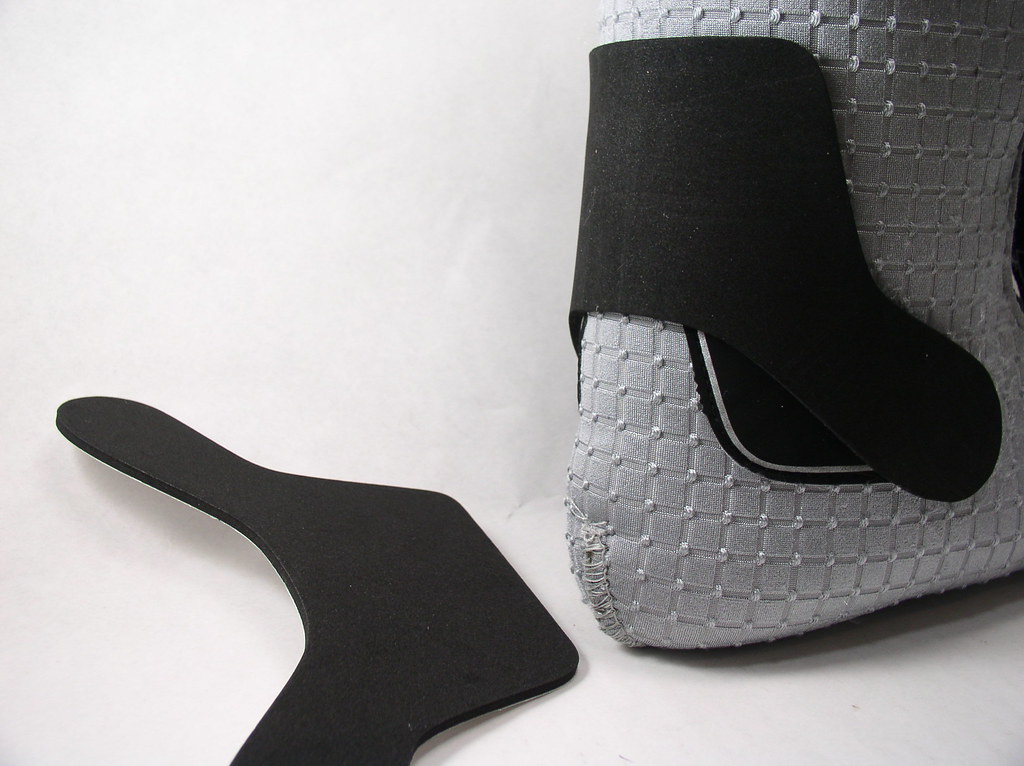
Here is a comparison showing the Nitro, superfeets and my customs:
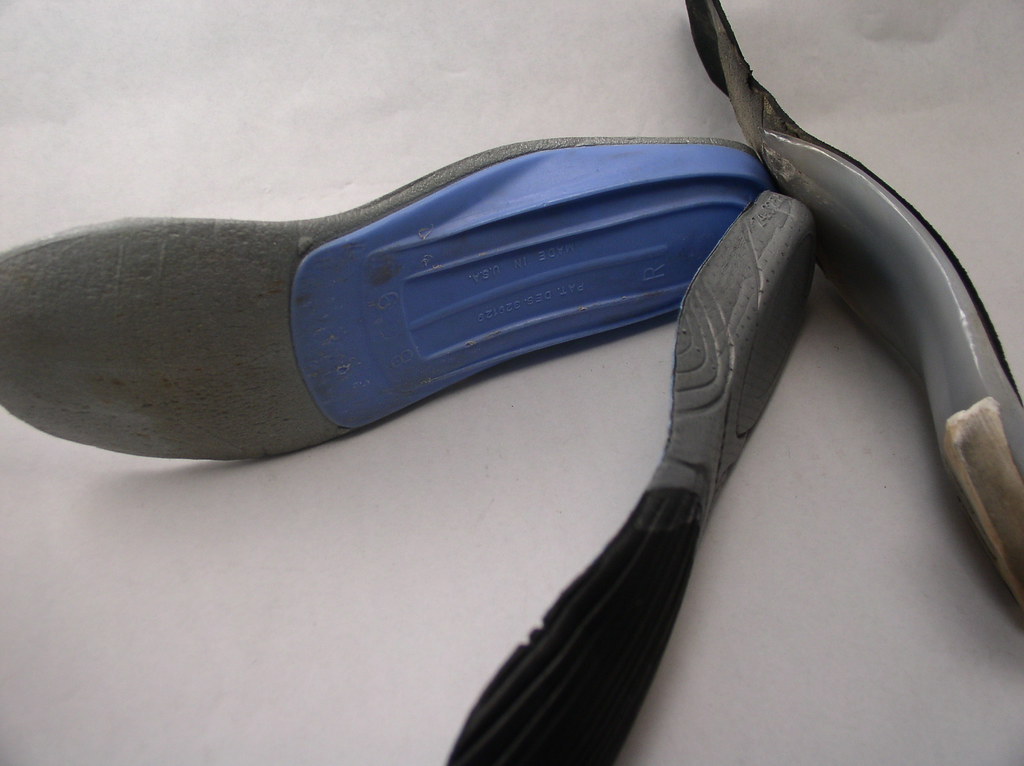
Notice two things. 1) how high the arch is on the customs. A good test to see how flat your feet are is to step into some water and then step onto smooth concrete. Take a look at the wet impression. You can see pretty quick if you have flat feet or have a natural arch. Mine is bad. 2) Notice that the custom and the Superfeets have plastic. in the arch. That means there is very little give in the arch.
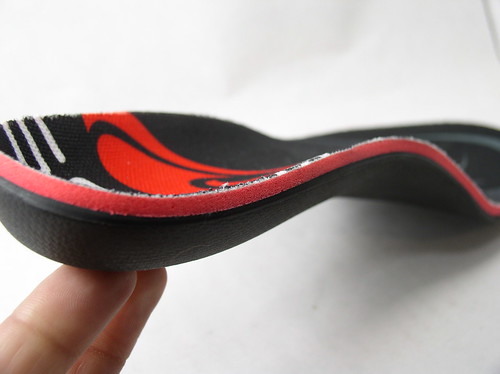
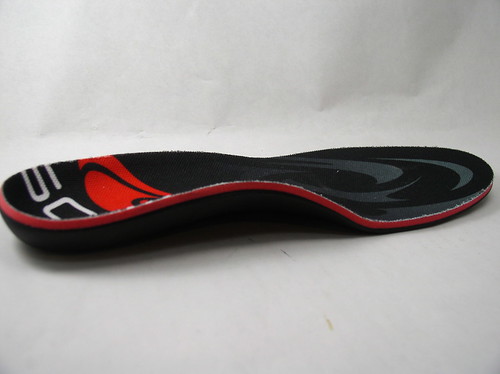
Some after market orthotics like the
Shred Soles 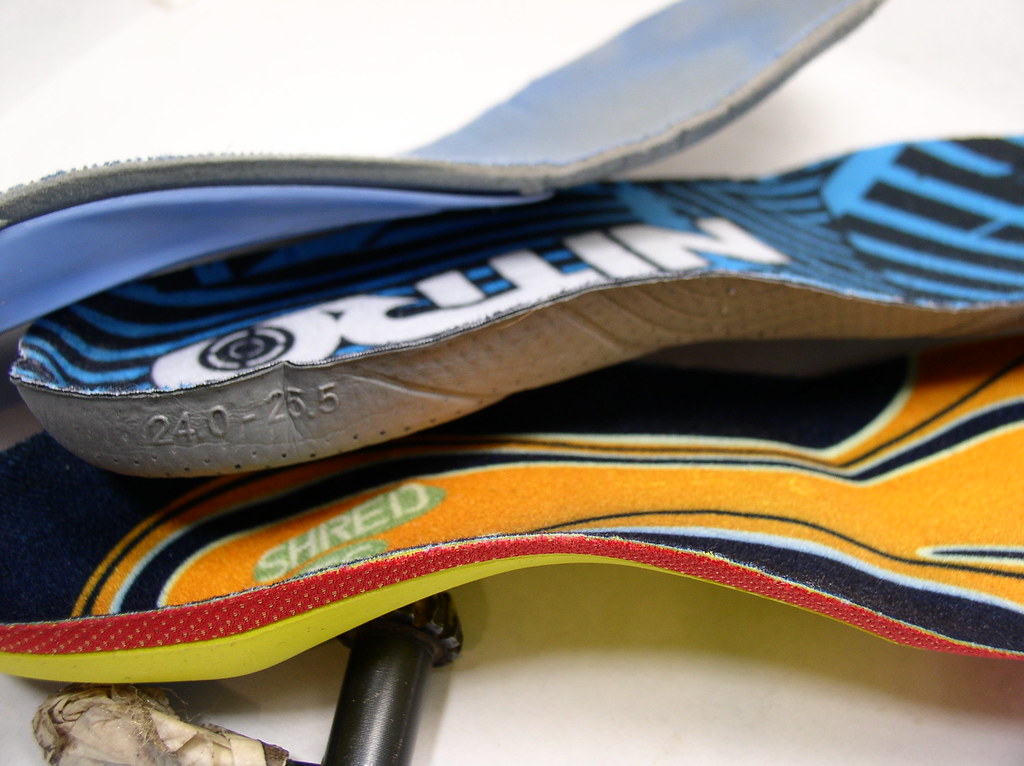
have a shaped arch but they don't have a rigid structure.
A note on the shred soles. They are made by a small company that obviously has soul and rider owned. I got some and they didn't work out for me. The owner was really straight up, the box said money back if unsatisfied and he was true to his word. I think they are a great design and have some extra features specifically for snowboarding in the heel and asymetric design that is thicker on the outside. So for someone with a relatively normal foot, it would be a great choice over the stock liner, but for real bad flat feet probably not.
There is also the Sole brand, I got some cheap on ebay and these seem to be the thicker kind. I think they make a thiner one that is probably better for snowboard boots. They have a very deep heel pocket and nice arch. It is not totally rigid like the superfeets but it does hold shape decently well
Others I have heard of are Down Unders and A Line
Right now I have my cycling ones in there which are custom and it seems to work ok. A KEY point with flat feet and orthotics that have an arch is that you can eek out some extra toe room because your foot is raised in the arch which pulls your toes back a hair. This is a god send in cold weather and wearing boots that are tight. Which they should be. Toes are supposed to touch when standing, but move back a hair when you lean forward.
In areas with good ski shops, you can find custom insole makers. I don't have any experience with those. I got mine made mail order by a podiatrist that specialized in cyclists. He sent foam in a USPS mailing box. I stood in them and sent them back, he made the orthotics from that impression. Not the best way I'm sure, but one way if you don't have access to the expertise.
Again, I have no access to a pro bootfitter, so I started to take matters into my own hands (probably a mistake as I don't have a clue what I'm doing).
Tognar sells some boot fitting supplies. I decided to try some ankle wraps
and J bars.

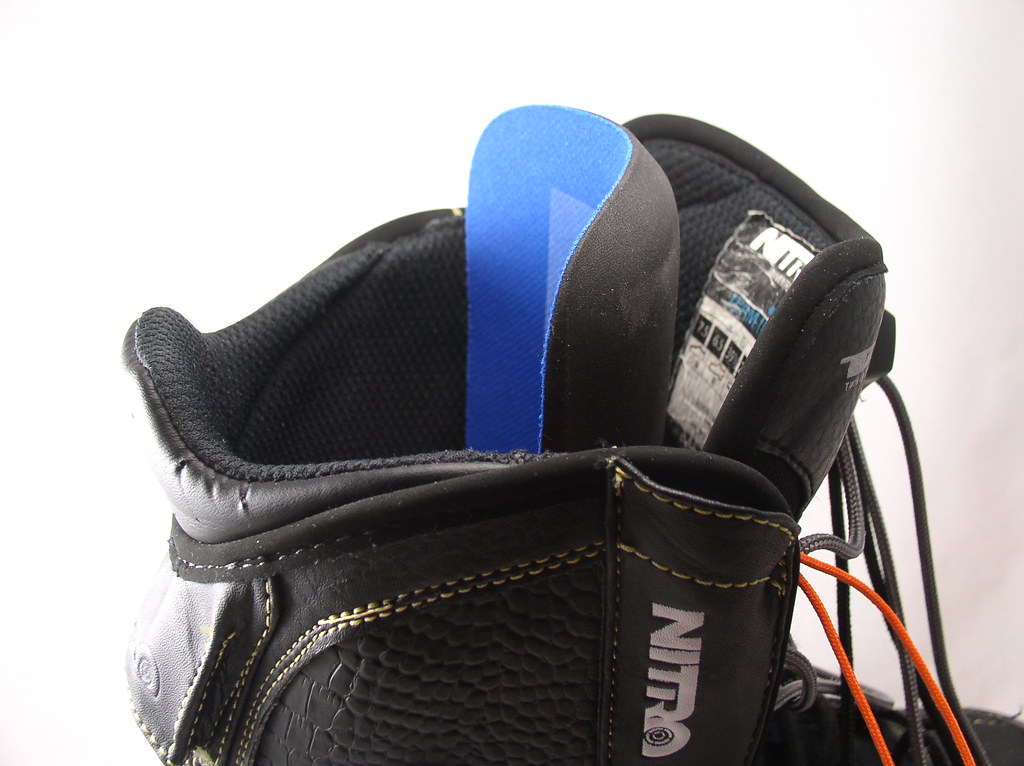
I also got the ELIMINATOR which goes under the tongue of your boot to take up space and push your ankle/heel back.
I just tried to mix/match and try ways to fill the dead space around my Achilles tendon.

Verdict.
Improvement in heel hold: yes. However at the high price of more pain at the top of the foot. Cinching the ankle harness down as tight as I usually did with the new padding there placed hellish pressure on the top of the foot, and inhibited ankle flexion.
--------------
note that I tested out some of the mods today. While the heel hold was improved the strain on my ankles is much higher, top of the foot to be exact. Think about when you flex your ankle, trying to bring your toes closer to your shins. The combination of extra padding around the heels and tight ankle harness put the hurt on in that area.
The real interesting thing, is that I had a free coupon for a lesson at winterplace. I ended up taking it at the end of the day when I was beat and my ankles were hurtin for certain. I've been going on the assumption that a loose boot is a bad boot, and that it caused delayed reaction in my turning. But at one point, after tightening the boots my ankles were hurting again. So bad that I stopped and loosened them noticeably. At the same time we happened to be working on initiating turns by driving with the front foot first. The first step in the move is twisting the board with the front foot while the rear is flat. Then after the twist, driving the shin forward which just lifts the whole board onto to side edge.
so foot is locked in binding, drive the shin forward, which equates to really bending at the knees AND ankles. Hmm, a few times I really felt it. funny thing is you can't do that if the ankles are totally locked down. they have to flex to get that deep drive. So I actually had the board up on edge and my boots were looser. So I don't really need that ultra locked down tightness, what I need is better technique.
I only felt it a few fleeting times, so am now thinking of going back to w/o the padding, and shooting for a very snug fit, but not locked in place.
I've always heard about bending at the knees. But I'm thinking that this also means flexing at the ankles too. And if an ankle harness is totally locking your ankle movements than you can't flex.
I've been thinking about heel lift all wrong I think. I've always 'test' it by trying to lift the heel when standing up. So standing on my toes and trying to lift the foot up in the boot. WRONG. I think that it is foot flat on the floor, strapped in a binding, and then drive your shin forward. Then see if the heel lifts????